
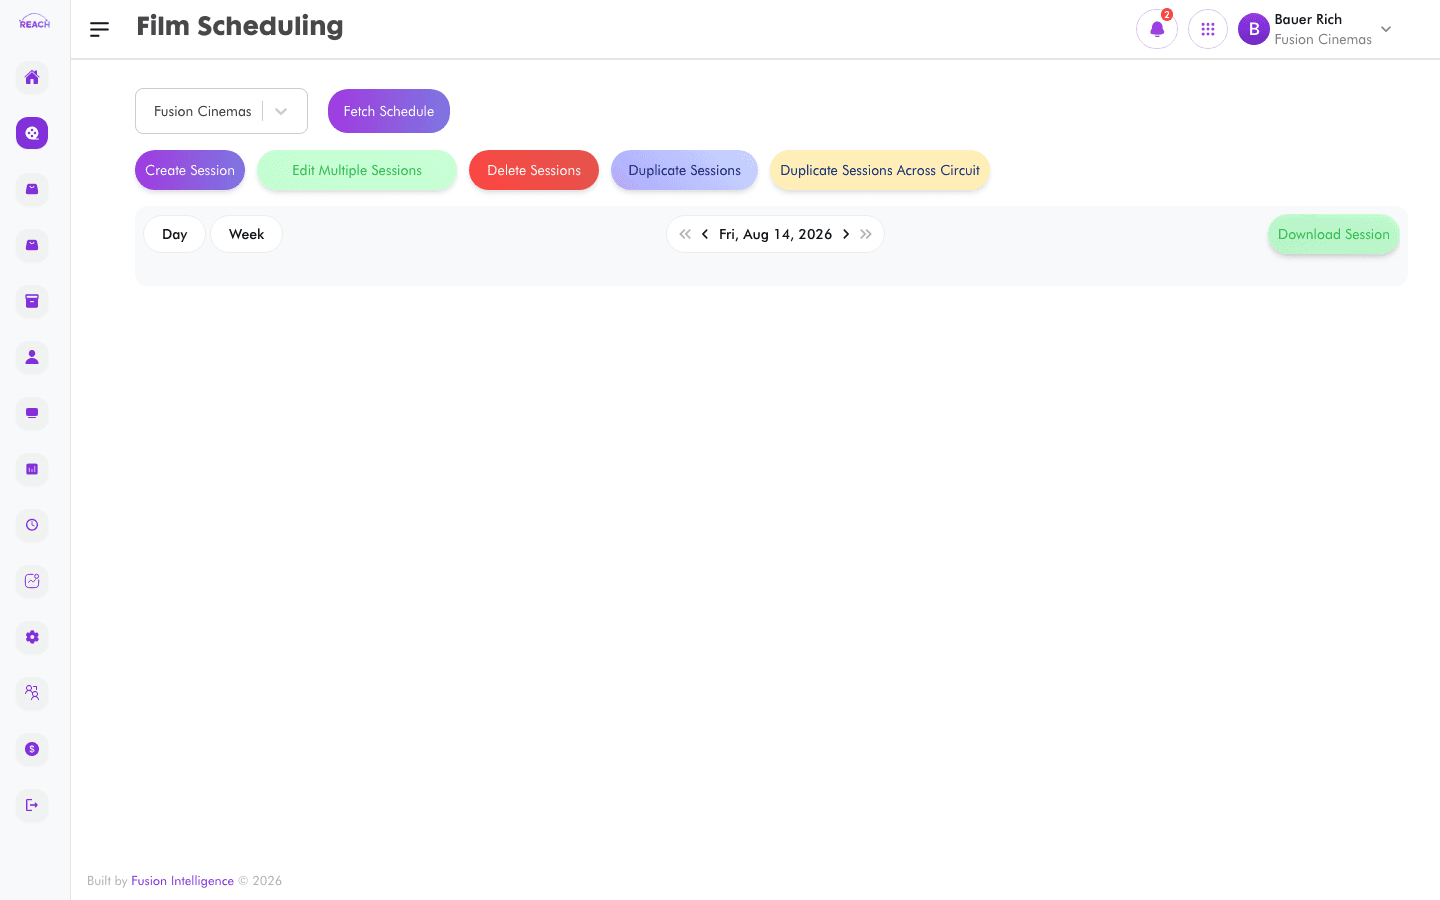
Film Scheduling is where you create, edit, duplicate, and delete showtimes (sessions) for a cinema. It offers a day view and a week view, and tools for working across many days or across the whole circuit at once.
Before you start
- Import the films first in All Films — you can only schedule titles that exist in the cinema's catalogue.
- Set up your screens and seat classes so sessions can be assigned to an auditorium — see Screens.
- Select a cinema with the cinema selector (it also shows the cinema's time zone). The default view (day or week, 12- or 24-hour) comes from Cinema Settings.
How to load the schedule
- Open Film → Film Scheduling.
- Choose a cinema in the selector.
- Click Fetch Schedule to load showtimes for the selected cinema and date range.
- Use the toolbar to switch between day and week views and to move between dates.

How to create a showtime
- Click Create Session (the create button in the toolbar).
- Pick the film, screen, date, and start time. The end time is derived from the film's duration.
- Save. The session appears on the schedule grid, colour-coded by film (see the legend at the bottom).
Working with existing sessions
Right-click (or open the context menu on) a session to:
- View its details
- Update it
- Delete it
- Copy it, then paste it onto another slot (Reach Head Office validates for clashes before pasting)
Bulk tools
| Button | What it does |
|--------|--------------|
| Edit Multiple Sessions | Edit several showtimes in one go. |
| Delete Sessions | Delete showtimes across multiple days. |
| Duplicate Sessions | Duplicate showtimes across multiple days for the same cinema. |
| Duplicate Sessions Across Circuit | Duplicate showtimes across the circuit. |
You can also download/print the schedule using the download button in the toolbar.
Tips
- If a pasted or duplicated session clashes with an existing one, Reach Head Office blocks it and shows a validation message.