
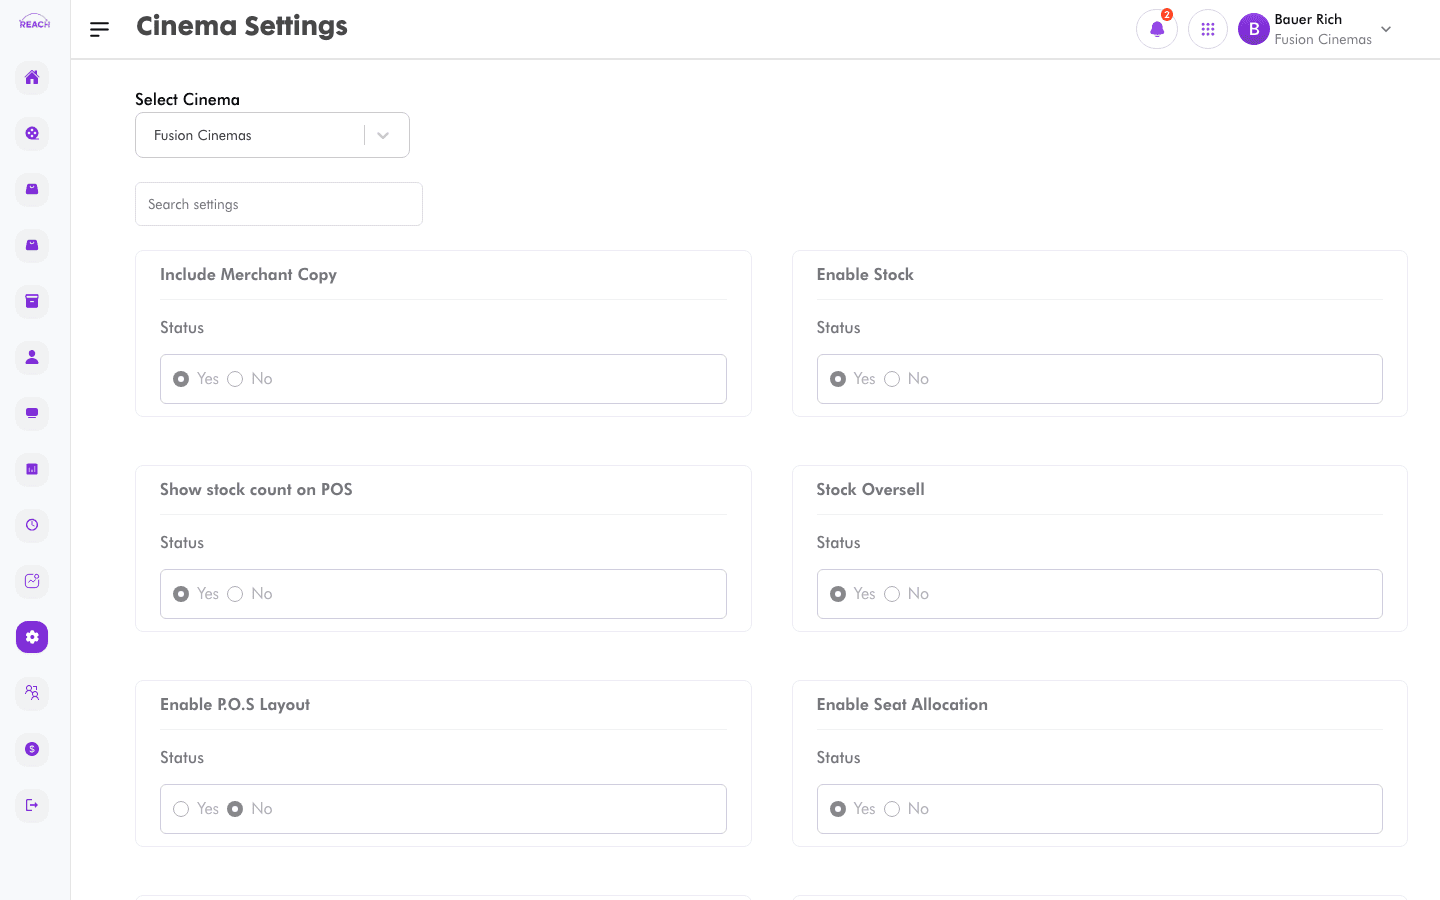
Cinema Settings control how a cinema operates — receipt printing, POS appearance, stock control, seat allocation, and more. Each cinema has its own settings.
Before you start
- Select the cinema with the cinema selector — settings are per cinema.
- Some settings depend on other setup (e.g. seat allocation relies on Screens and Seat Classes; payment channels rely on Payment Channels).
How to update cinema settings
- Open Settings → Cinema Settings.
- Select the cinema.
- Toggle the options you want and set the choice fields.
- Save. A confirmation appears on success.

Available settings
| Setting | Controls |
|---------|----------|
| Customer receipts | How/whether customer receipts print. |
| Include channels on ticket | Show payment channels on the ticket. |
| Include POS images | Show item images on the POS. |
| Cinema logo | Include the cinema logo on receipts. |
| POS layout | Use the configured POS Layout. |
| Include merchant copy | Print a merchant copy. |
| Payment channels | Enable Payment Channels. |
| Seat allocation | Enable seat allocation/selection. |
| Stock control | Enable stock control. |
| Stock oversell | Allow selling beyond stock on hand. |
| Automatic offline upload | Auto-upload offline sales when back online. |
| Order creation | Order-creation behaviour. |
| Use nominal tax | Use nominal tax handling. |
| Atlas enabled | Enable the Atlas integration. |
| Film schedule view | Default day/week and 12/24-hour view for Film Scheduling. |
| POS background colour | POS theme/background colour. |
| Show POS stock count | Display stock counts on the POS. |
| Enforce loyalty | Require loyalty capture. |
These are the settings exposed on the screen; use the on-screen labels and helper text as the source of truth.